Wednesday, April 3, 2013
Audi A3 Euro amber tail lights and Blind spot mirrors DIY heated mirrors!
MIRRORS:
Installed in a matter of minutes.
1.Push the outside corner of the factory mirror into the mirror shell.
2.Pull out the mirror on the other side. just yank. There is only one snap that youre pulling on.
3.If you have heated mirrors, unplug the harnesses and remember which color goes to which. 4.Plug in your heated mirror connectors if you have the option.
5.Snap the new mirror into the port.
I know this sounds vague, but there is nothing to this.
For cars without heated mirrors, all you need are "heated mirrors" imagine that, and vag-com. see bottom of thread for details.
Total install time: 5 minutes.
------------------------------------------------------------------------------------
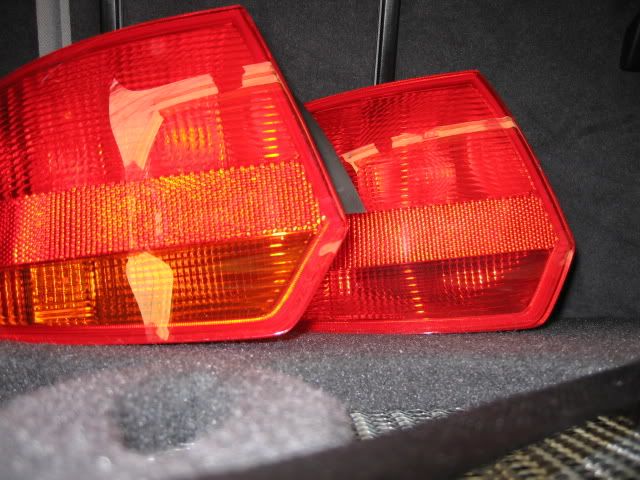
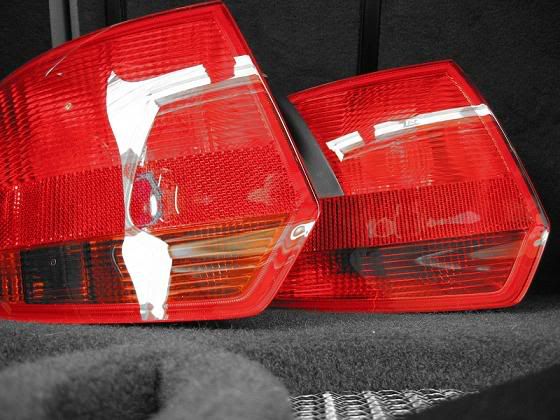
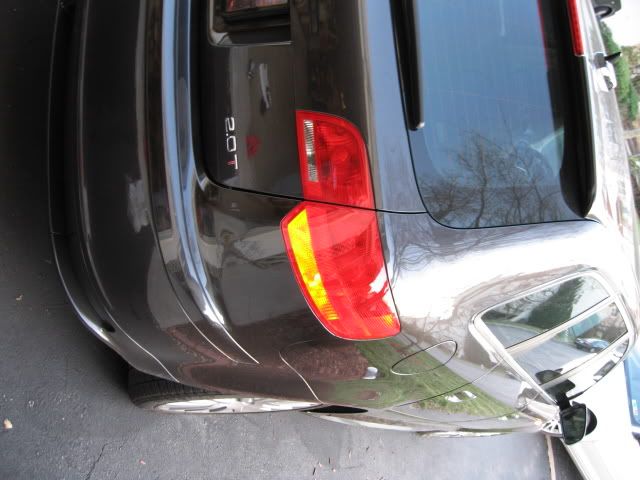
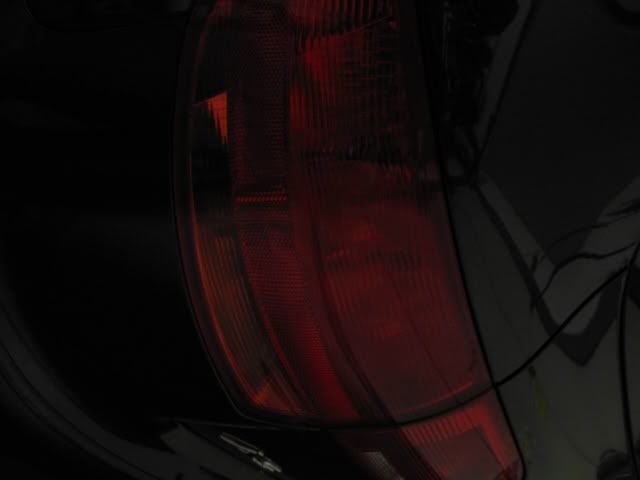
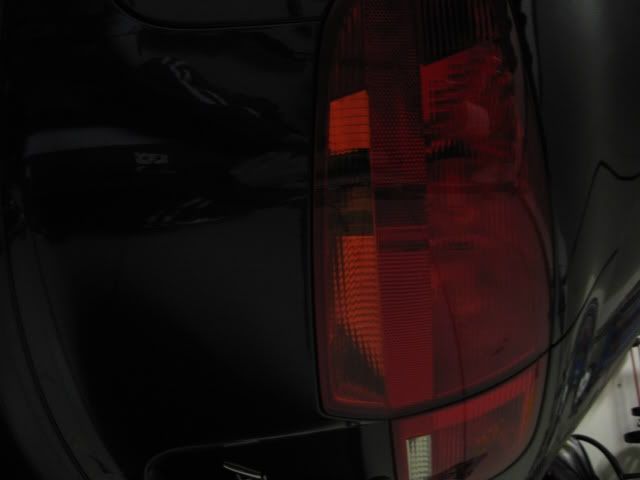
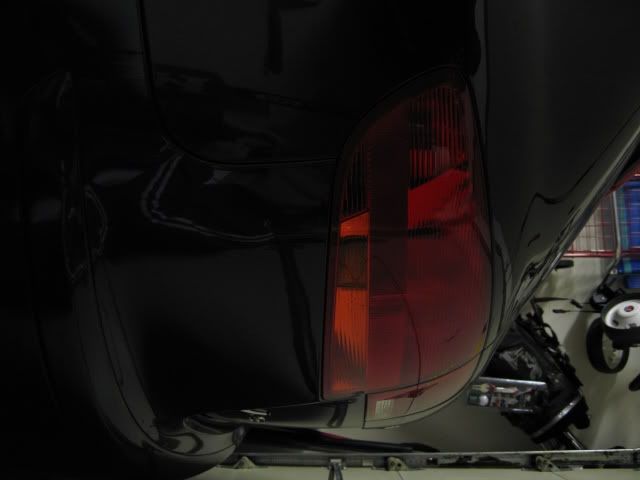
EURO TAILS:
They look sweet, you can tell theyre amber even when theyre not on.
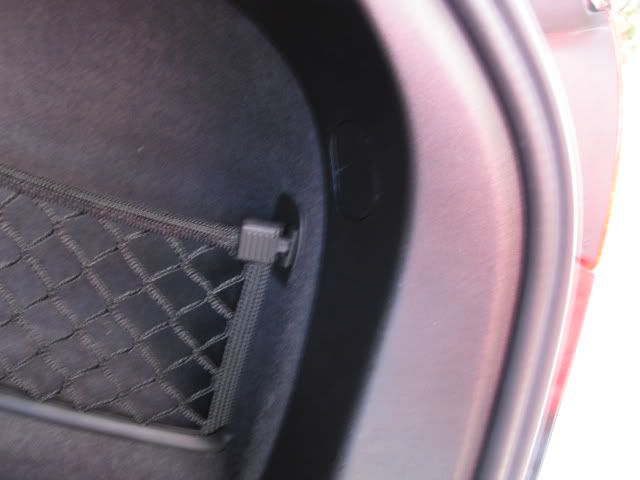
1.Find your two access doors on the inside off your trunk, one on either side. Flat head to remove. The access door on the P side is tied to the car, you wont loose it. The access door to the D side is not, so be careful.
2.Inside youll find a 13mm plastic bolt, with a small flat head inside. Use either or to remove, I used a flat head that was wide enough to only sneak in. This made it very tight Tip: this is important b/c you dont want to loose this bolt, if it falls down, youll be removing your spare tire to get it.
3.Once you get this long bolt untightened, pull it out with a steady hand.
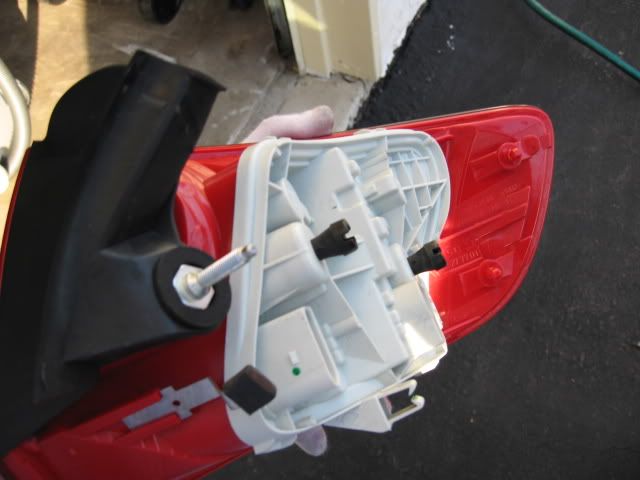
4.Now you can pull the taillight assembly from inside out, then pull the two tabs out (which are on the outside). I took a pic of the rear of the light, so you can see the 3 points. The long bolt, and 2 tabs.
5...Unplug, switch and reinstall your new light. Very easy.
Total Install Time: D side 5 minutes. P side 65 minutes...
I had to remove my custom enclosure to reach the access door! This was frustrating, but gave me a chance to shoot the enclosure which I never did.
Could the magnet be any larger on this sub? It must weigh 18 lbs.

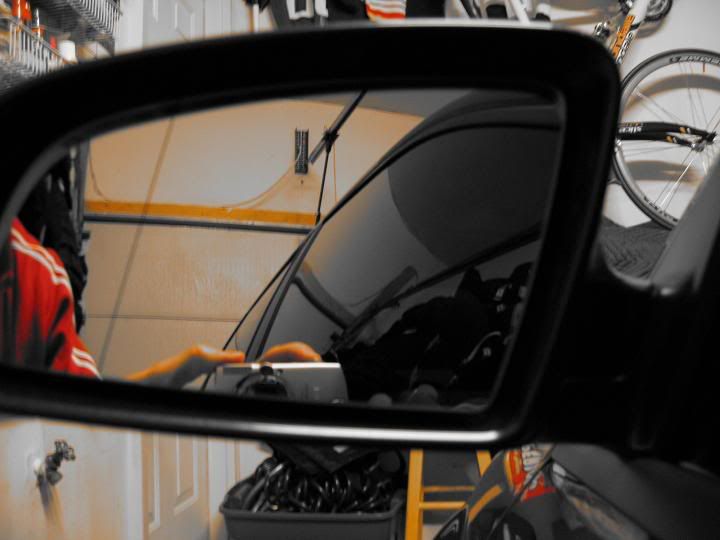
In this pic of the blind spot mirrors: I didnt do this on purpose but it shows how effective they are.
I was standing practically next to the mirror, with my arm out to take the pic. And you can see my red sweatshirt in the mirror.
I must admit, a lot of these installs are cake. headlamp/fog bulp upgrades, euro switch, euro tails, blind spot mirrors, etc, etc. Very easy stuff.
-------------------------
Thanks to DVAG member Bassbiker!
The coding is in the door control modules (42 - driver door, 52 - pass door)
It all depends on what your current coding is. I have the cold wx package and my coding is 1209 for both front doors.
Heres the coding chart from VAGCOM label file for the drivers door:
C00,Door Electronics Driver (J386) Coding
C01,+0000001 - Rear Lid Remote Unlock Button (E233)
C02,+0000002 - Ambient Mirror Illumination
C03,+0000004 - Mirror Turn Signals
C04,+0000008 - Interior Door Handle Illumination installed
C05,+0000016 - Automatic Run active
C06,+0000032 - Mirror Heater installed
C07,+0000064 - Door Exit/Warning Light installed
C08,+0000128 - 5-Door Chassis
C09,+0000256 - Seat Memory installed
C10,+0000512 - Right Hand Steering
C11,+0001024 - Safe-Motor not installed
C12,+0002048 - Pinch Protection inactive
Heres the full label file from VAGCOM website:http://www.ross-tech.com/vag-c...N.lbl
Id assume that those without the cold wx pack might have a code of 1177
If that is the case, you just add 32 for MIRROR HEATER INSTALLED
Now if your current code is 1209, youre configured to use the mirror heaters, but still not sure if the wiring is all in place within the door to actually supply power to it.
Page 98 of the owners manual states "Turn the rotary knob to 0"
"Depending on outside temperature and vehicle speed, the mirror surfaces are heated until the ignition is switched off"
No need to push forward on the knob
You can also turn on the heated mirrors by hitting the rear defroster button. Very handy for morning ice removal routine.